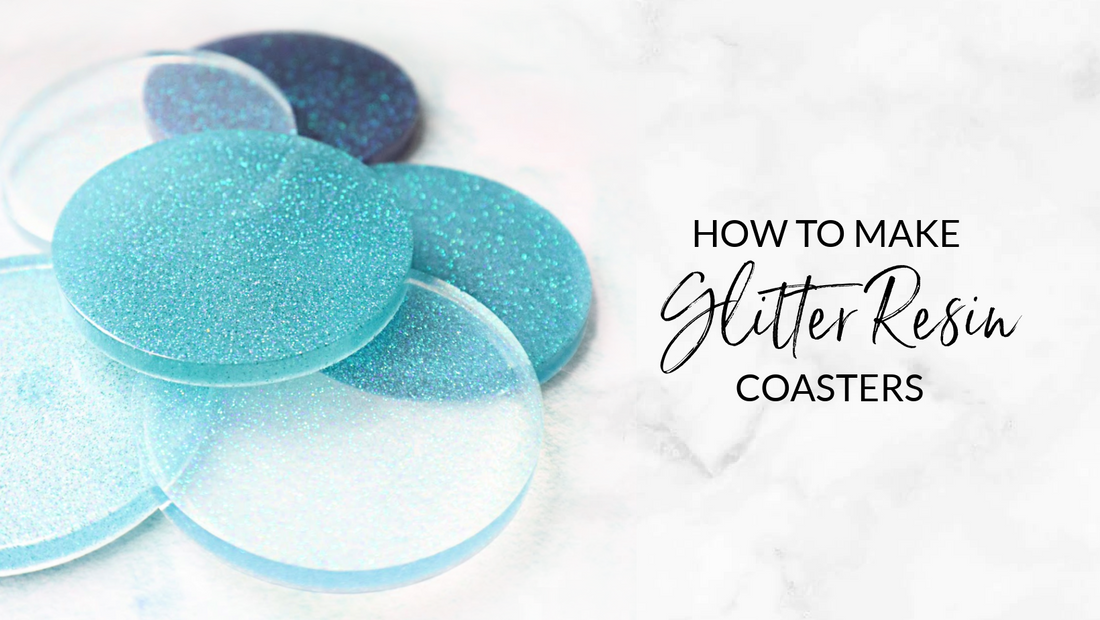
Resin coasters are a super easy project to make at home. Not only are they beautiful, they are also practical. If you're new to resin, coasters are a great starter project.
Today we're going to show you how to make sparkly coasters with glitter. If you're looking for more resin coaster ideas, we'll also cover some fun variations you can make at the end of this post.
New to resin? Check out our Resin 101 article for an in-depth introduction to epoxy!
Supplies for Making a Resin Coaster
To make these glittery coasters, you only need a few simple tools and supplies:
- 2 part Epoxy Resin*
- 3 cups for mixing (use paper, plastic or silicone mixing cups)
- A plastic or wood stirring stick
- Round silicone mold or square mold
- Glitter
- Optional: mica powder and/or liquid craft dye
- Micro scoop for adding glitter/mica
- Gloves
- Respirator or face mask
- Parchment paper for covering your work area
- Toothpick for popping bubbles
* To make a set of 6 coasters with our round mold, you will need 3 oz of Part A and 3 oz of Part B. This makes 6 oz of resin total.
A Note about Coaster Molds
You typically make coasters with a specific type of mold. However, you can use resin with essentially any silicone mold. Don't worry about having a special coaster making mold. We're using our basic silicone soap mold for this tutorial.
If using one of our molds, the square soap mold is a bit larger than the round mold. These coasters will work for most standard drinking glasses. If you have a large mug, you might want to use a bigger mold instead. This tutorial works great for any kind of mold you want to use.
How to Mix Resin for Coasters
Our epoxy uses a 50:50 mix of resin and hardener measured by volume, not weight. If you're using a different brand of epoxy, please follow the mixing instructions for that brand instead.
Step 1: Cover your workspace with parchment paper to prevent spills.
Step 2: Put on your gloves and mask. If you work with resin frequently, we recommend wearing a respirator mask.
Step 3: Pour Part A (resin) into one of your mixing cups.
Step 4: Pour Part B (hardener) into a separate mixing cup, filling to the same level you did for part A.
Step 5: Pour your Part A and Part B cups into a third mixing cup. Use a tool to scrape all the resin/hardener off the sides of the cups. This ensures the mix is completely even.
Step 6: Gently stir the blended resin in one direction for a minute or two. Then switch to stir in the opposite direction. Scrape the edges and bottom of the cup with your stir stick to make sure everything blends nicely.
Step 7: Use a micro scoop to add glitter to the cup. Mix it in with your stir stick.
Pouring Your Coasters
You have about 30 to 40 minutes to work with the epoxy once you mix it. This gives you plenty of time to pour your coasters.
Before pouring, check to make sure there are no bubbles left in the resin. Let it sit for 3-5 minutes to let any remaining bubbles dissipate.
Pour an equal amount of resin into each cavity of the silicone mold after the bubbles dissipate. Aim to make your coasters about 3/8 to 1/4 of an inch thick.
When using soap molds, it's sometimes hard to tell exactly how full they are. However, the molds are opaque so you can look at the mold from the side. If any of the coasters are too thin, simply pour in a bit more resin.
Use a toothpick to pop any bubbles that may rise to the surface. Be sure to do this before the epoxy starts setting up.
Some people like to use a heat gun to pop bubbles in resin. While you can do this, it's difficult when working with a deep silicone mold. The heat can cause damage to the mold, so we don't recommend this method for this project.
One of the good things about glitter coasters is that glitter usually hides any bubbles that may remain. That's why this is such a great beginner project!
Letting Your Coasters Cure
As a small project, coasters usually cure within 12 to 24 hours. Make sure the resin is fully cured before trying to remove it from the mold. Although resin can feel hard within the first 24 hours, always wait a bit longer before sanding your finished pieces.
Check out our resource on sanding and finishing resin to make your finished projects shine!
Glitter Coaster Variations
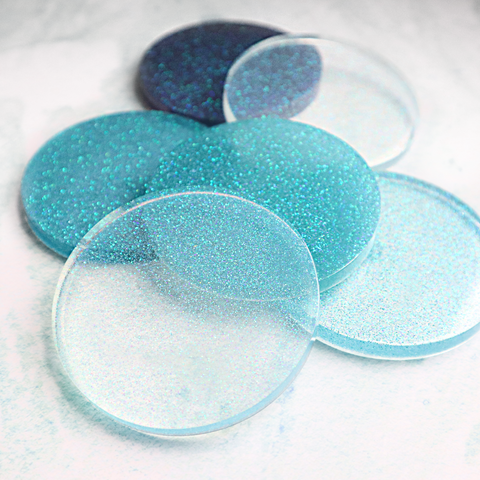
When making a DIY resin coaster, glitter is a fun additive. However, you can also get creative with mica powder and liquid dye. Mica will give your coasters an shimmering, sometimes swirly appearance. Mica powders will make your coasters look more opaque.
To keep your coasters clear, use some liquid craft dye instead. A little dye goes a long way, especially in a small project like this. Use a toothpick to add just a dot of color at a time until you get a shade you like.
The process for adding color to epoxy is the same whether you use mica, glitter, or dye. Play around with different colors and try mixing them to get beautiful effects!
Looking for more ideas? Check out this list of 10 projects to make with resin!